
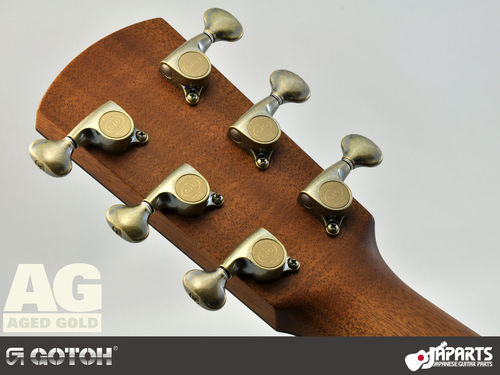
Installing Gotoh AG Aged Gold Minis on a Larrivee Parlor
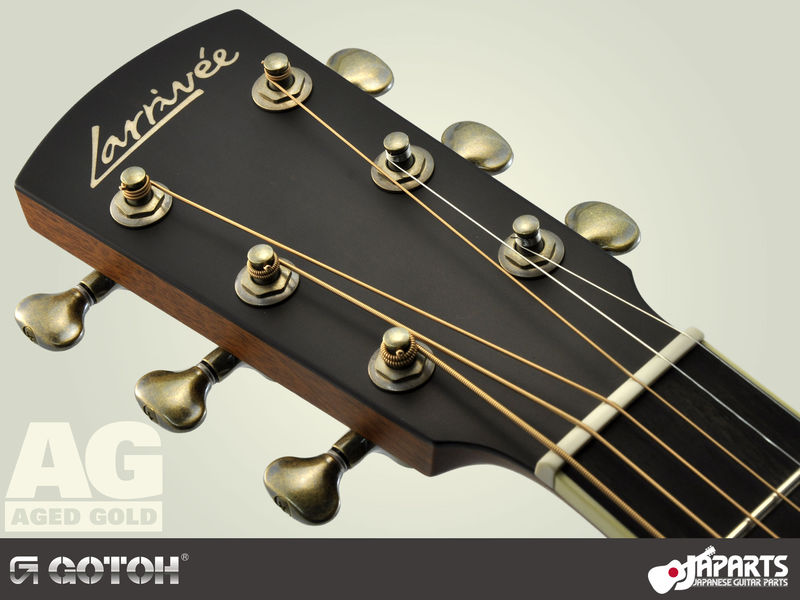
Our selection of AG Aged Gold finish options has increased to include SGS510Z-S5: mini size machine heads with small metal contour buttons. They're perfect for 12-string guitars and for parlor guitars, so we went across the bridge to the Larrivée factory to see if John Jr. had any nice parlors we could buy. He did and we did! We picked up a beautiful little P-03 and took it back to our little workshop to install our new Gotohs on it.
Our Larrivée parlor had chrome mini Schaller-style machine heads installed with the Larrivée logo on the caps. One thing we discovered is that Larrivée parlors have headstocks that are the same size as their regular-sized guitars' headstocks. You could probably get away with installing full-sized machine heads on this guitar, but we prefer minis for parlor guitars regardless.
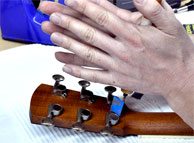
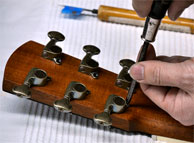
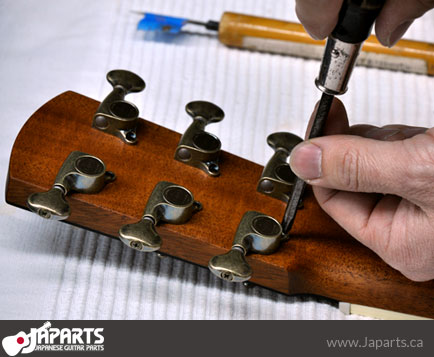
After taking a quick "before" photo1 we unstrung the guitar and removed the stock machine heads2. Then we took the time to make sure the headstock was clean (this is a good time to do that - no obstructions) and prepped the Gotohs3.
-
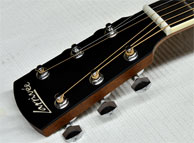
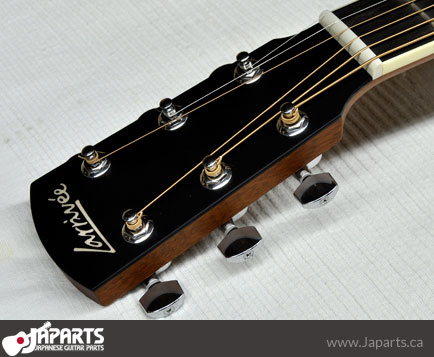
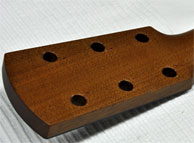
1 Before.
-
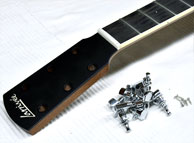
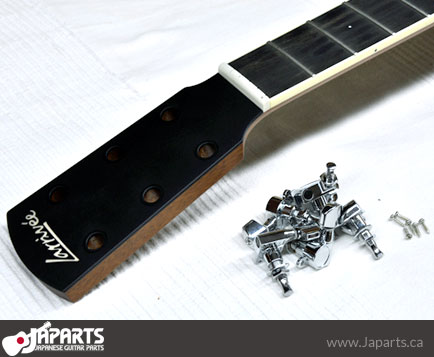
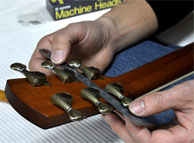
2 Stock machine heads removed.
-
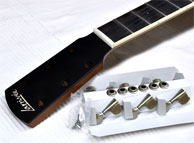
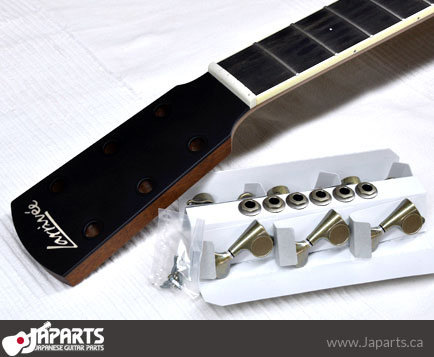
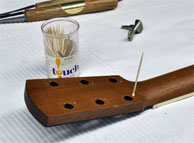
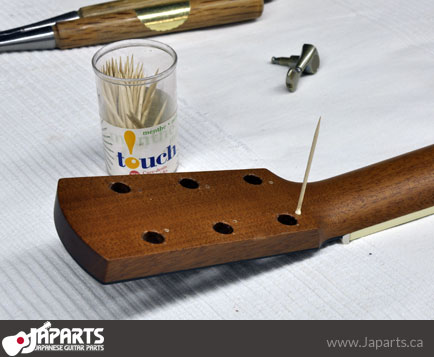
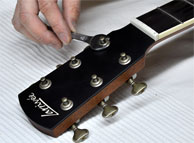
3 Prepped for install.
-
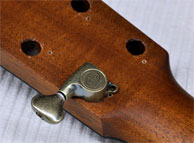
4 Check screw-hole position.

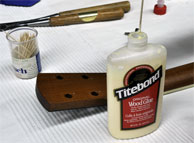
As you can see, the previous machine heads had screw-holes that don't quite line up with the new Gotohs4. The new machine heads almost cover up the holes left behind, but not quite. We decided to plug and colour them before installing the new machine heads. To do this we used wood glue, toothpicks, and a brown felt marker. Note that we could have used crazy glue but if your guitar has a gloss finish, that type of glue can react chemically with it. So even though our guitar's finish is satin we decided to use and show the safe type of glue.
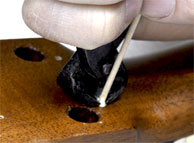
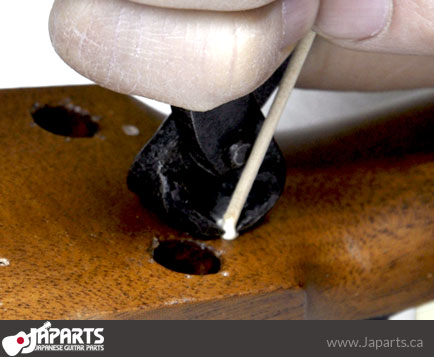
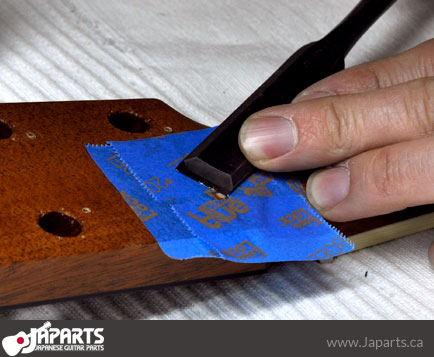
Have a damp cloth or paper towel handy to wipe off the excess. Dip one end of the toothpick in the glue5 and then stick it in a hole6. Once you have it in tight and straight, use pincers to clip off as much excess as possible7. Wipe remaining glue with the damp cloth/towel. Use painter's tape to cover the surface surrounding the plug and then scrape flush with a chisel8.
-
5 Gluing the toothpick.
-
6 Toothpick plug.
-
7 Clip off extra.
-
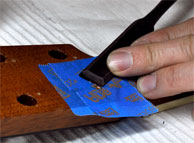
8 Chisel flush.

Now you can use a brown felt marker to colour the plug to better match the wood9. It doesn't really have to match exactly, since the hole is mosty covered by the machine head10. In our case you can still see the plugs, but only if you look very closely11. From a distance they can't be seen and once they're covered they're only visible to people who.. were likely already irritated. ;-)
-
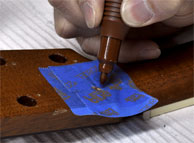
9 Colouring.
-

10 Invisi-hole!
-
11 All six holes plugged.
-
12 Placing and balancing.


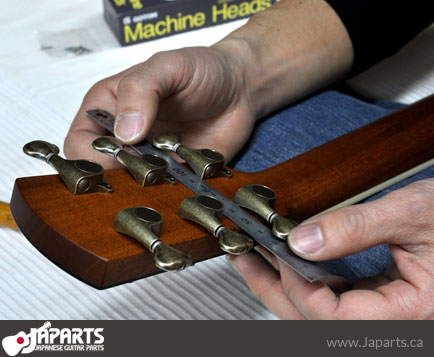
The time has come to install the new machine heads! Put all six in place and tighten them using the bushings just enough so that they don't easily move when you shift the guitar but can still be moved by hand. The angle you choose is entirely up to you. We used a ruler just to make sure that they match horizontally12.
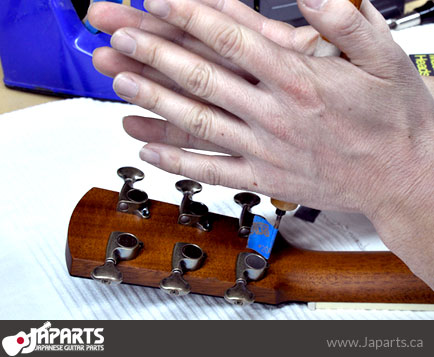
It's a very good idea to pre-drill the holes for the wood screws. In our case we used a Japanese tool called a "kiri". They're held between your hands and spun back and forth to make a hole. I would imagine that most people reading this will use a drill but we used a kiri because it's less likely to cause any inadvertent damage. If you use a drill we recommend that you mark the place where the hole will go and move the machine head out of the way before drilling.
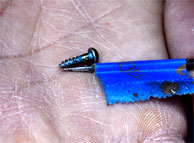
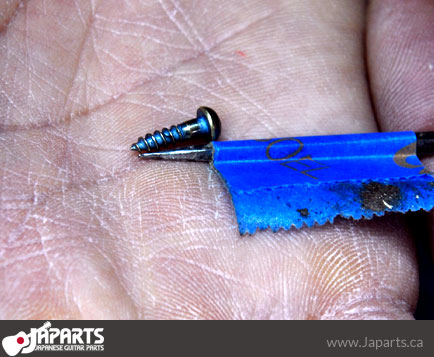
Use some tape to measure a proper stopping depth for pre-drilling13. Remember that the hole you're making should be shallower and narrower than the screw! This is the part of the process where you're most likely to make a mistake that you will regret. Have a box of tissues handy in case you need to have a little cry while you think about how you could have taken it to a professional.
Ready? Drill14. Please note that if you are using a drill and not a kiri, your hands should look nothing like Yusuke's in photo #14. Also, if you take good care of them they should look nothing like his hands in photo #13.
-
13 Set your depth.
-
14 Pre-drilling.
-
15 Screwing screws.
-
16 Last adjustment.
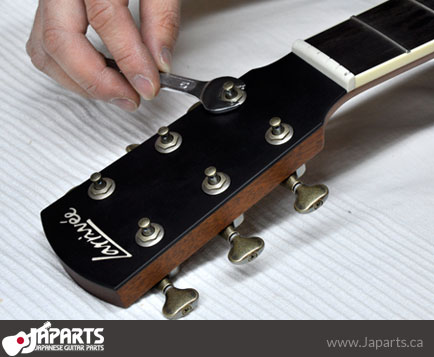
Almost done. Go ahead and screw the screws15. They don't need to be extremely tight; they're not what's holding the machine heads in place. That would be the bushings, which you can now tighten firmly (but not crazy firm) with a #10 spanner16.
Done. String it up and play guitar. Note how great AG looks and how well Gotoh's machine heads work. You're welcome.